
A Comprehensive Guide to Repairing a 1/4″ Dr. Heavy Duty 90T Ratchet
Introduction:
The 1/4″ Dr. Heavy Duty 90T Ratchet is a valuable tool in any toolbox. It provides a convenient and efficient way to tighten or loosen nuts and bolts in tight spaces. However, like any mechanical device, ratchets can experience wear and tear over time, and eventually, they may require repair. In this blog post, we will guide you through the process of repairing a 1/4″ Dr. Heavy Duty 90T Ratchet, allowing you to extend its lifespan and keep it in top working condition.
Disclaimer: Before attempting any repairs, ensure that you have the necessary tools, knowledge, and experience. If you are unsure about any step, it is best to consult a professional.
Step 1: Gather the Required Tools and Materials:
To repair your 1/4″ Dr. Heavy Duty 90T Ratchet, you will need the following tools and materials:
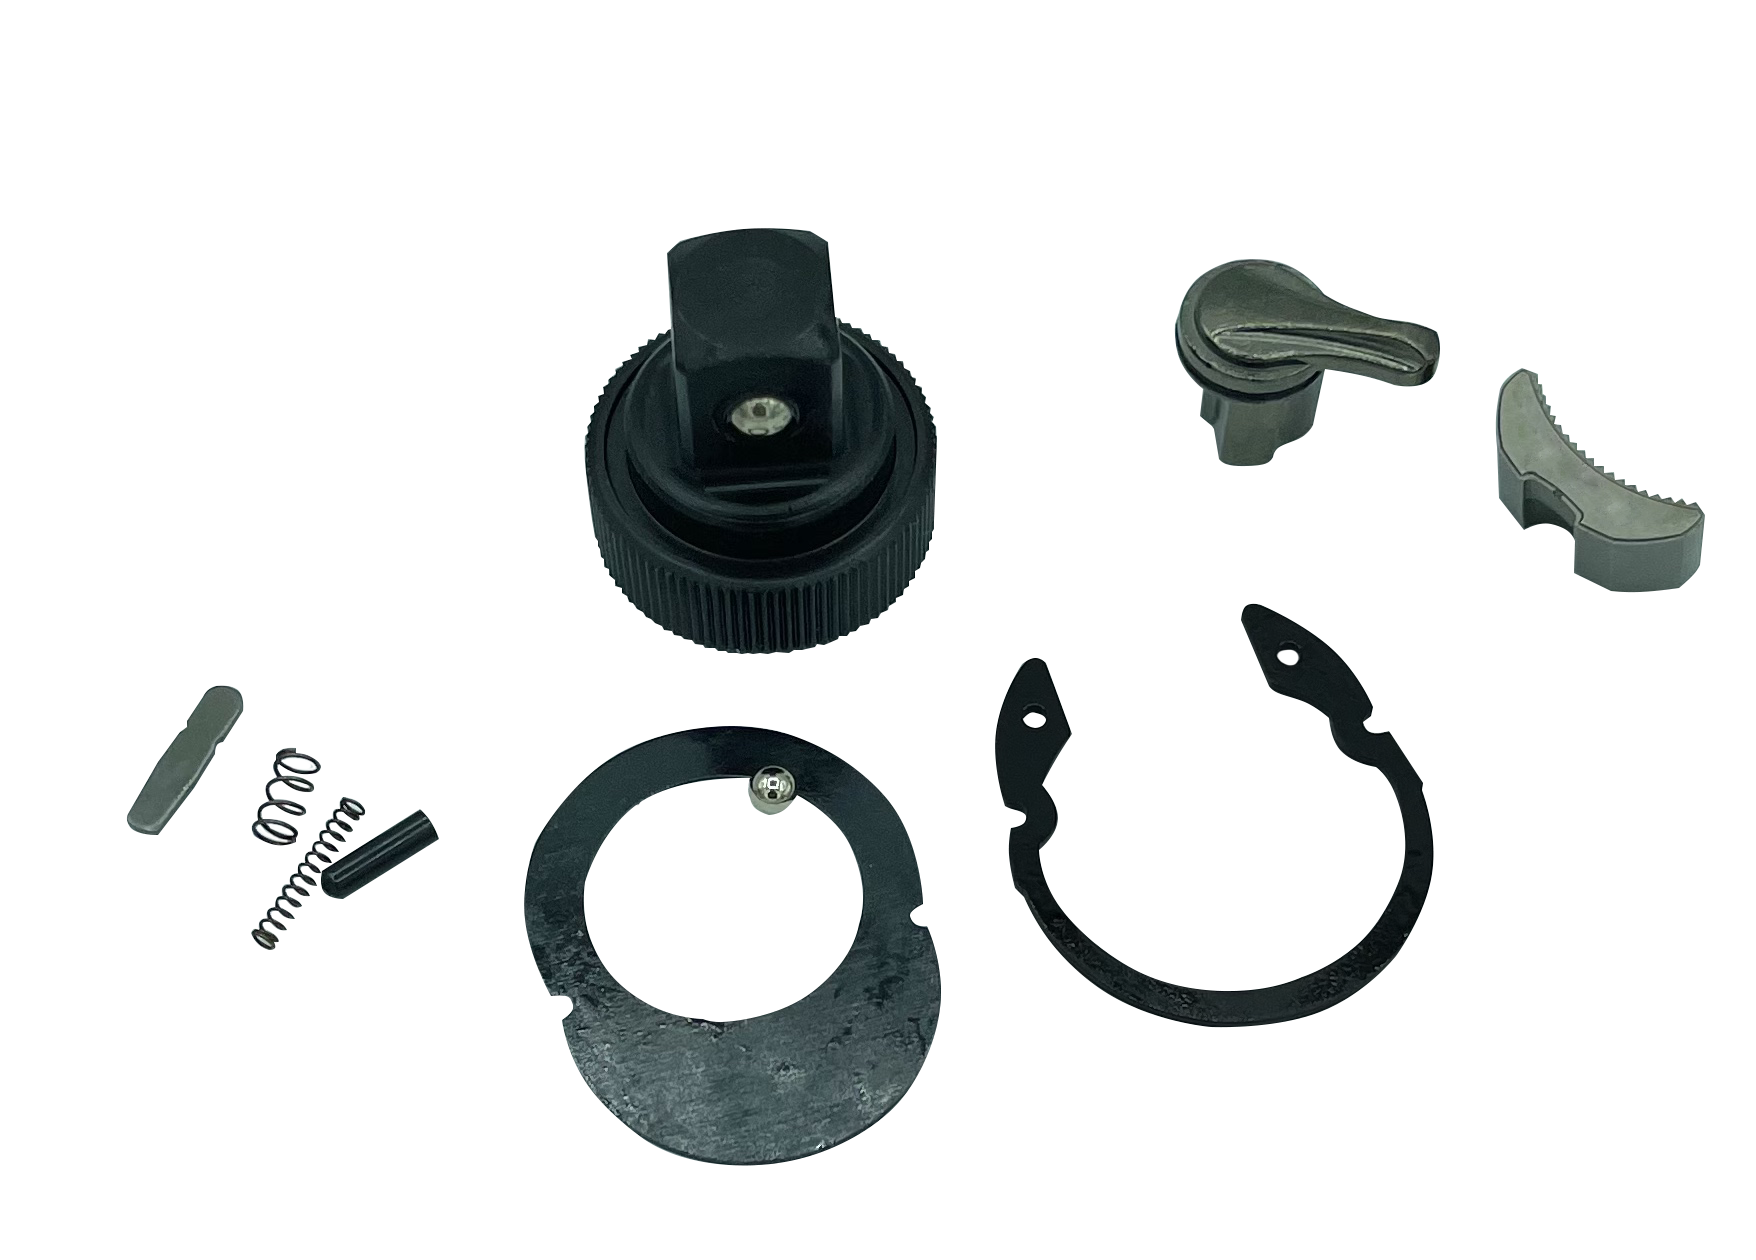
- Replacement parts (if necessary): This may include gears, springs, or other components specific to your ratchet model.
Repair kits can be found here:
- Screwdrivers: Both flathead and Phillips head screwdrivers may be required to disassemble the ratchet.
- Long nose pliers: These will be useful for holding small components and removing retaining rings.
- Cleaning solvent: A mild cleaning solvent or degreaser to remove dirt and grime from the ratchet parts.
- Lubricant: A suitable lubricant, such as lithium grease or silicone spray, to ensure smooth movement of the ratchet mechanism.
Step 2: Disassemble the Ratchet: Carefully disassemble the ratchet by removing screws, retaining rings, or other fasteners. Keep track of the order in which you remove the parts to aid in reassembly later. It may be helpful to take pictures or make notes during this process.
Step 3: Inspect and Clean the Components: Thoroughly inspect each part for signs of wear, damage, or breakage. Pay special attention to gears, pawls, springs, and other moving components. If you notice any damaged parts, they will need to be replaced. Clean all the components using a mild cleaning solvent and a cloth or brush to remove dirt, grime, and old lubricant.
Step 4: Replace Worn or Damaged Parts: If any parts are worn out or damaged beyond repair, you will need to replace them. Consult the manufacturer's guidelines or contact a distributor to obtain the correct replacement parts for your specific ratchet model. Follow the manufacturer's instructions for proper installation of new components.
Step 5: Lubricate and Reassemble the Ratchet: Apply a thin layer of lubricant to the ratchet's moving parts to ensure smooth operation. Be sure to lubricate gears, pawls, and any other areas where metal rubs against metal. Reassemble the ratchet in the reverse order of disassembly, referring to your notes or photographs if needed. Tighten screws and fasteners securely, but avoid over-tightening.
Step 6: Test and Adjust: Once reassembled, test the ratchet to ensure it functions properly. Check for smooth movement and proper engagement of the pawl with the gear. If necessary, make minor adjustments to improve the ratchet's performance. It may take a few tries to get everything working smoothly again.
Step 7: Regular Maintenance: To prolong the lifespan of your 1/4″ Dr. Heavy Duty 90T Ratchet, it is important to perform regular maintenance. Clean the ratchet periodically and reapply lubricant as needed. Inspect the tool for signs of wear or damage, and address any issues promptly to prevent further problems.